Showing posts with label photography tutorial. Show all posts

Friday, August 30, 2013

How to photograph autumn fabulous article by photojojo!  Wonderful tips!


The Best Times to Photograph in the Fall

Photo by  Lorrie McclanahanWhen we were growing up, we often heard that the early bird gets the worm. Well, we’re not big on worms, but the adage does apply when you’re trying to get the perfect shot of autumn foliage.
(1) Photograph around sunrise and sunset for the best light and color.
The first and last hours of sun during the day (the times right around both sunrise and sunset) have a brilliant quality to the light that can yield great photos. Movie people call these times “Magic Hours” – at least for the morning one, we call it doggone early. But there’s just something about the soft, golden light around this time (which brings out the reds and golds in your photos) that you can’t help but love.
Other quick tips:
  • (2) Photograph outdoors when your shadow is longer than you are, usually in the late afternoon. (That one’s from professional photographer Susan McCartney, BTW.)
  • (3) Don’t overlook overcast days. They can often be wonderful to shoot on because the sun isn’t drowning out the colors and the shadows are softer.

Technical Tips

Photo by Richard Lo
  • (4) Use a tripod. Especially when shooting with dusk encroaching, tripods really, really help. (Don’t have one? Make one with a soda bottle, or buy one of the nifty Gorillapods and attach it to a tree branch.) Turn off your flash, set your ISO to 100 to minimize noise (sharper detail!) and start shooting. Experiment with your shutter speed -– a 1-3 second shutter can do wonders, stilling the foliage and the colors, while letting the rest of the world turn into a blur.
  • (5) Polarize your lens! Got an SLR? A polarizing filter can increase the contrast in your photos and make your colors richer, to the point where you’ll feel like it’s the 1950s and Technicolor just hit. If you don’t have one of these, or you have a point-and-shoot, no problem. (6) Underexpose your shots slightly (which most cameras, even point-and-shoots, will let you do) to deepen the saturation in your colors, then use your computer’s photo software (iPhoto, Picasa, or Photoshop) to increase the contrast and play with the color saturation to warm things up slightly.
  • (7) Experiment with your white balance settings. Don’t be afraid to take your camera off Auto mode and play with those settings. Increase the little numbers manually, or select a white balance setting like “cloudy”.
  • (8) Try a macro lens or macro mode. For those expert-looking close-ups of leaves, a macro lens is indispensable. No macro lens? Set your camera to macro mode and get really close -– that works too. Tripods are handy at this point so that you can really focus on the leaves without worrying about blurring your shot.

What to Photograph

Michelle ZlimenSome seasons only give you a few possibilities for how to frame your shots outdoors –- not so with Fall! Get up close for detailed leaf shots, or take a step back and take in a technicolor landscape. There’s so much change come Fall that the only thing you need do is look around you (or look up!).
You might also want to try:
  • (9) The Panning Technique – “Switch your shutter speed to around the 1/8 mark, zoom in on a part of a tree’s foliage (try to frame it with some nice blue sky in the background), as you hit the shutter speed pan your camera up and down or side to side. The results should be some lovely movement blur that give the impression that the leaves are moving in the wind.”
  • (10) Make-Your-Own Leaf Studio – Too windy to get those up-close macro shots of leaves to work? Try bringing some leaves home. With some good ol’ Scotch tape, stick the stem to a large open window that has some natural light coming through it, so that the leaf lies flat against the window. Now set up your camera and start snapping. Voila, brilliant leaf close-ups!

More Creative Ideas

Photo by Heather Robinson
  • (11) Take leafy portraits. While you’re busy raking those leaves up in the backyard, don’t forget the leaf fights, leaf forts, leaf heaps… they’re fun and the spontaneity will give you opportunity for dynamic portraits like this one by reader Heather Robinson.
  • (12) Capture a tree-changing time-lapse. As our very own Alicia Kachmar suggests, try taking a photo of the same tree, from the same spot, once every day for the next month. Take the shot around the same time every day if you can, and watch as the tree slowly transforms before your eyes.
  • Leaves and trees aren’t the only thing to photograph in the Fall. Visit a farmer’s market and snap some of the beautiful colors and shapes of Fall fruits and veggies. Go apple-picking or stop by the pumpkin patch.

The Star of Fall: Leaves, Leaves, Leaves

While we were thinking about how best to photograph leaves as they change color this time of year, we began to wonder why, exactly, they change color.
Photo by Heather RobinsonSo to find out, we called up Mr. Pederson, our former Junior High science teacher. The short story: leaves don’t change color! Instead, during the Fall the chlorophyll molecules in leaves start to break down. Normally, these chlorophyll molecules absorb almost every color in the sun’s light spectrum and only reflect green back to our eyes. But once the chlorophyll starts to go, and the Carotene in the leaves progressively takes over, our eyes see less of the green and more of the yellows, reds, and oranges in the sun’s light spectrum, reflected back to us from the leaves.
And that, in a nutshell, is why leaves “change color.” (Thanks, Mr. Pedersen!)

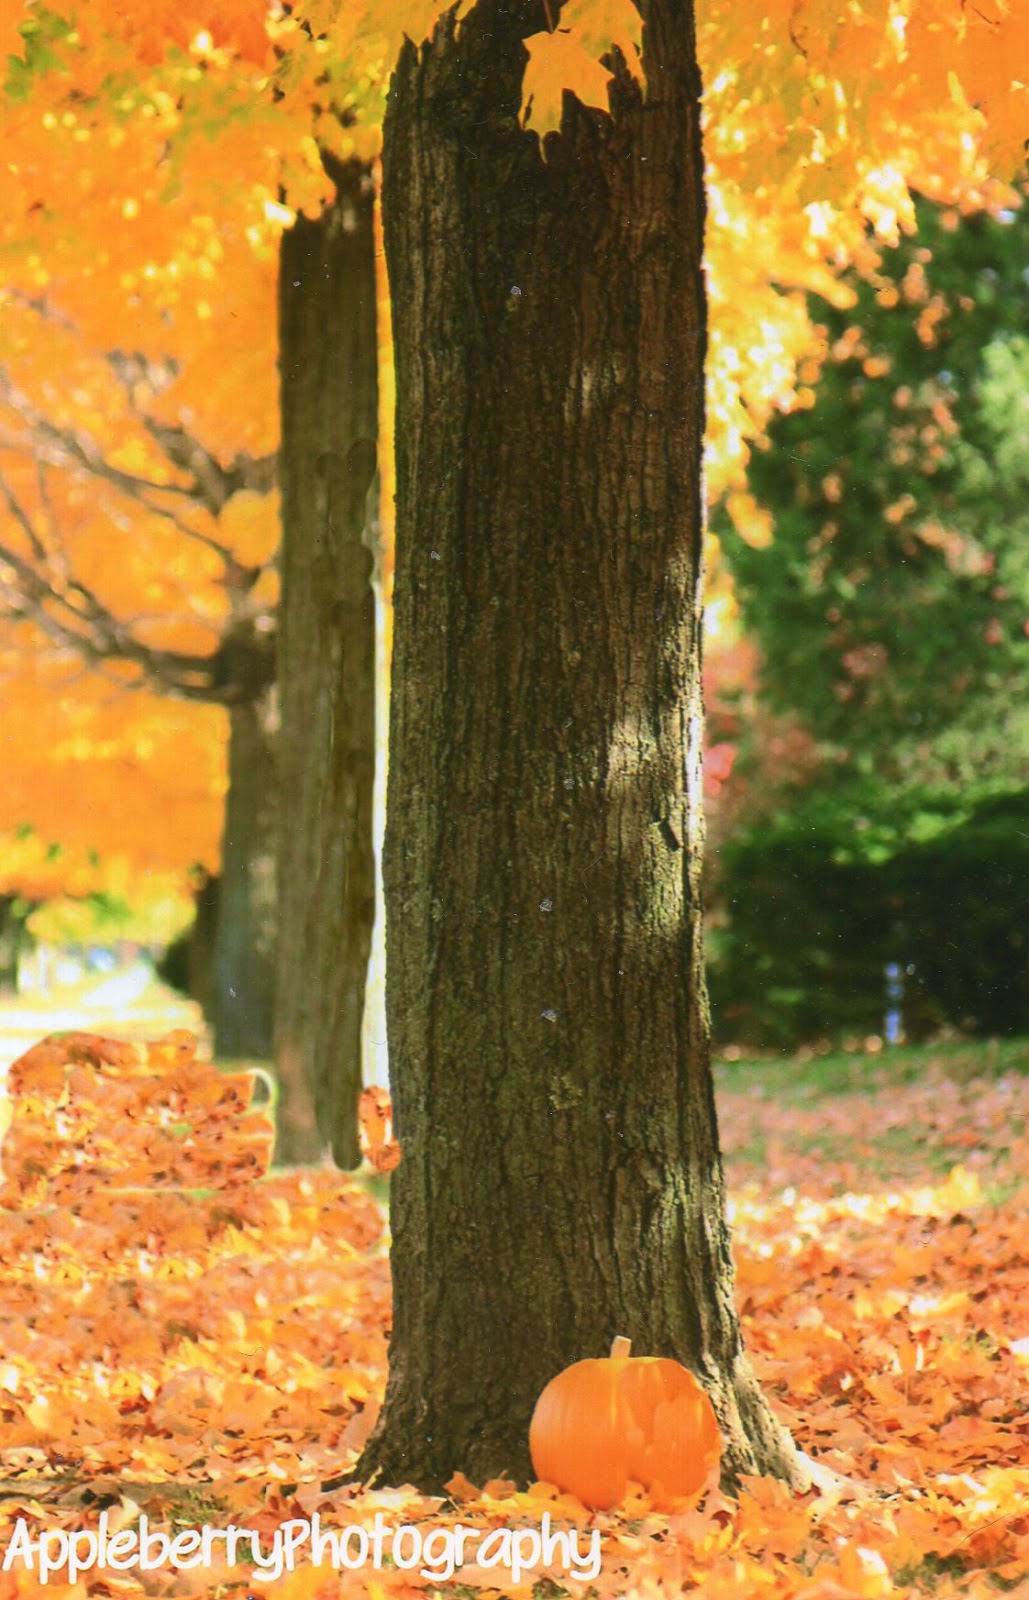
Here is an Appleberry Photography Photograph from our autumn collection!
Please visit our online store:


Appleberry Photography


Enjoy the Labor Day holiday!
Ellen

Wednesday, August 28, 2013

How to photograph Autumn!

School will open next week!  Fall is definitely around the corner! Here are more tips to capture one of the most beautiful seasons of the year!

  1. Look at your leaves and find some that have unique and interesting patterns and colors.

    • Be sure that the leaves are not too thick. You want to be able to get some light through the leaf.
  2. 2
    Decide when you want to shoot. Late morning or early evening. That is called the 'Golden Hour' and has the best light for those types of photos.
  3. 3
    When you are choosing a leaf for your photography, keep an eye for attractive backgrounds. You want it to complement your leaf.
    • Also, make sure that they aren't 'busy'. If there is too much going on in the photo, the leaf won't be seen. It will blend in or be over-powered by the background.
    • With Autumn leaves, perfection isn't perfect. An imperfection can make the shot much more interesting.
  4. 4
    Set your white balance. You will want to be sure that your white balance is correct. It will help greatly with the seasonal colors.
  5. 5
    Just add water. The water could be from condensation or that you have supplied. This can add some great interest to your photograph.
  6. 6
    Set up the tripod and camera in the approximate places where you will be photographing.
  7. 7
    Keep a close eye on the sun (light source), your subject leaf, and any interesting photos that you might see.

Photograph in the Window

  1. 1
    Choose an eastern or western most window. Which one you choose depends on whether you are using the morning or evening light. East is the morning light and west is the setting sun.

  2. 2
    Clean the window on both sides. Don't assume the window is clean, clean it. You would be amazed at how every little speck will show up in a photograph.

  3. 3
    Clean off the leaf. Unless you are wanting to get the look of the extra dirt, clean it off. Dirt can be distracting.
  4. 4
    Decide how you are going to shoot it. Do you want to shoot the whole leaf, parts of it (macro), however else you might want to do it.
  5. 5
    Fasten it to the window. You can do this with masking tape without worrying about the tape messing up the window. Duct tape will leave traces behind.

On the Tree

  1. 1
    Decide how you want it to look. Do you want the unique colors of the sunrise or the sunset, or do you want the
  2. 2
    Find the leaf or leaves that you want to photograph.
  3. 3
    Set up the tripod for its best angle. You will want to take into consideration how you want the finished product to look. Do you want it backlit, side lit, etc.
  4. 4
    Do what you can to reduce the amount of wind that the leaf is exposed to. This is when a poster board or reflector comes in handy. There will still be some current coming around the block, but it should be significantly less.
  5. 5
    Look at the sun and determine how you want to use it.
    • Is the sky gray? That makes for great diffused light
    • Want the direct light of the sun? Step your aperture all the way down. This will give you a great depth of field.
    • Want to use shadows creatively? Choose late morning or early evening. The sun will be coming from low in the sky and help with some beautiful shading.

    Things You'll Need

    • DSLR
    • Macro lens (or closeup lens setup)
    • Tripod
    • A source of light (window, sun, light box, etc)
    • Masking tape (needing for fastening leaf to window)
    • Remote release (or remote cable)
    • Polarizing filter (this will help make your images more vivid)
    • A way to clean your window or glass (window cleaner and cloth)
    Courtesy of:  Wiki How

    Here is  one of our Autumn Photos! 

    Please visit our online store!
    Appleberry Photography


Thursday, August 22, 2013

How to take an Autumn Photograph!

Autumn is a colorful, special time of the year! Here are tips to take some awesome autumn landscape shots! Courtesy of About.com Please visit our Artfire shop!
APPLEBERRY PHOTOGRAPHY  We have several autumn photographs! Appleberry Photography Ellen

Monday, August 19, 2013

Tips on photographing Fall

Wow!  Summer is still with us!  The temperature is rising to 87 on Wednesday! 

It's not too soon to learn how to capture the autumn splendor! 

Tips for Photographing Autumn!
To photography enthusiast, autumn must be the most pleasing season. Away from the wet spring, heat summer, and cold winter, the refreshing fall is the most comfort season for shooting. If you take photos regardless of the unique of fall, it is difficult to produce excellent work. Here are just little experiences of photography in the fall.
When we talk about the fall, it is a common condition that we think about the gorgeous colors, all the trees are good subjects. Want to restore the golden Indus or red maple leaf in the photo? The key is the choice of the light. It is better to use back light while shooting, let the bright sunshine go through the leaves. There will make the leaver look a bit transparent, which will totally express the bright colors.
At the same time, we must pay attention to the exposure. If you are using the manual mode, you can use the spot metering to the leaves, and then add the aperture or reduce the shutter, otherwise, the details of the trees will be lost.
If you are shooting at the lakes and mountains, there will be greater. Want to take a clear reflection in the water? The best solution is using backlight.
If you want to let more scenes go into the water, simply reduce the shooting angle. The exposure is similar to the backlight photography. Different state of water can reflect different expressions. If you throw some leaves to the river, it may be more like a static photo. If you throw a stone into the rivers, the ripple will produce a feeling of moving.

While shooting, we need to pay attention to the feature of the water surface: the near is dark while the far is bright, especially when the water is clear and low. In this situation, we have to choose different amount of exposure by the subject.
Besides the trees and water, the wind must be another thing we can think about the fall. It will also be a great photography material. However, while shooting the scene under the blue sky and white clouds, it may be overexposed. The solution is metering on the ground, and then reduces the amount of exposure based on measured data. A filter will be necessary in this condition.
The clouds performance also is influenced by the sunshine: the intensity of light, the level of irradiation angle. Especially at dawn and dusk, the colors of the clouds can be described as colorful. At this time, the hue of the clouds can be changed by changing the amount of exposure, if you want to dilute it, you can increase 2 or 3; if you want to strengthen it, you can reduce 1 or 2 in exposure.
Photography is not just using your own camera, but also your minds. Go out and start your shooting.

-Courtesy of 
I'm a video producer and photography lover. Below are the tools I often using: PhotoShop, video converter (convert avi to mp4 on mac), Windows Movie Maker, iMovie, Final Cut Pro, AE, and so on.

Here is one of our favorite autumn photographs
 This pumpkin picture was taken in Northville Michigan at an old farm on Currie Road.  The day was perfect for photographing!  The semi cloudy day was wonderful to capture the brilliance of the fall leaves and allowed us to have just the right shadows on the ground and pumpkin.

Please visit our Artfire Shop: Appleberry Photography Art Fire Shop
We have more pumpkin photos!
 We also feature Halloween cards,
Ellen
Appleberry Photography


Monday, July 29, 2013

Macro Lens - Flower Photography


When you were a kid, the summer seemed endless!  But as an adult, and a photographer we know that the summer flies by.  And so it is with photographing flowers.  Many bloom in the Spring and fade as Summer approaches, some bloom in the summer for a while and their life span is over by Fall.
Here is an excellent video on taking flower photography